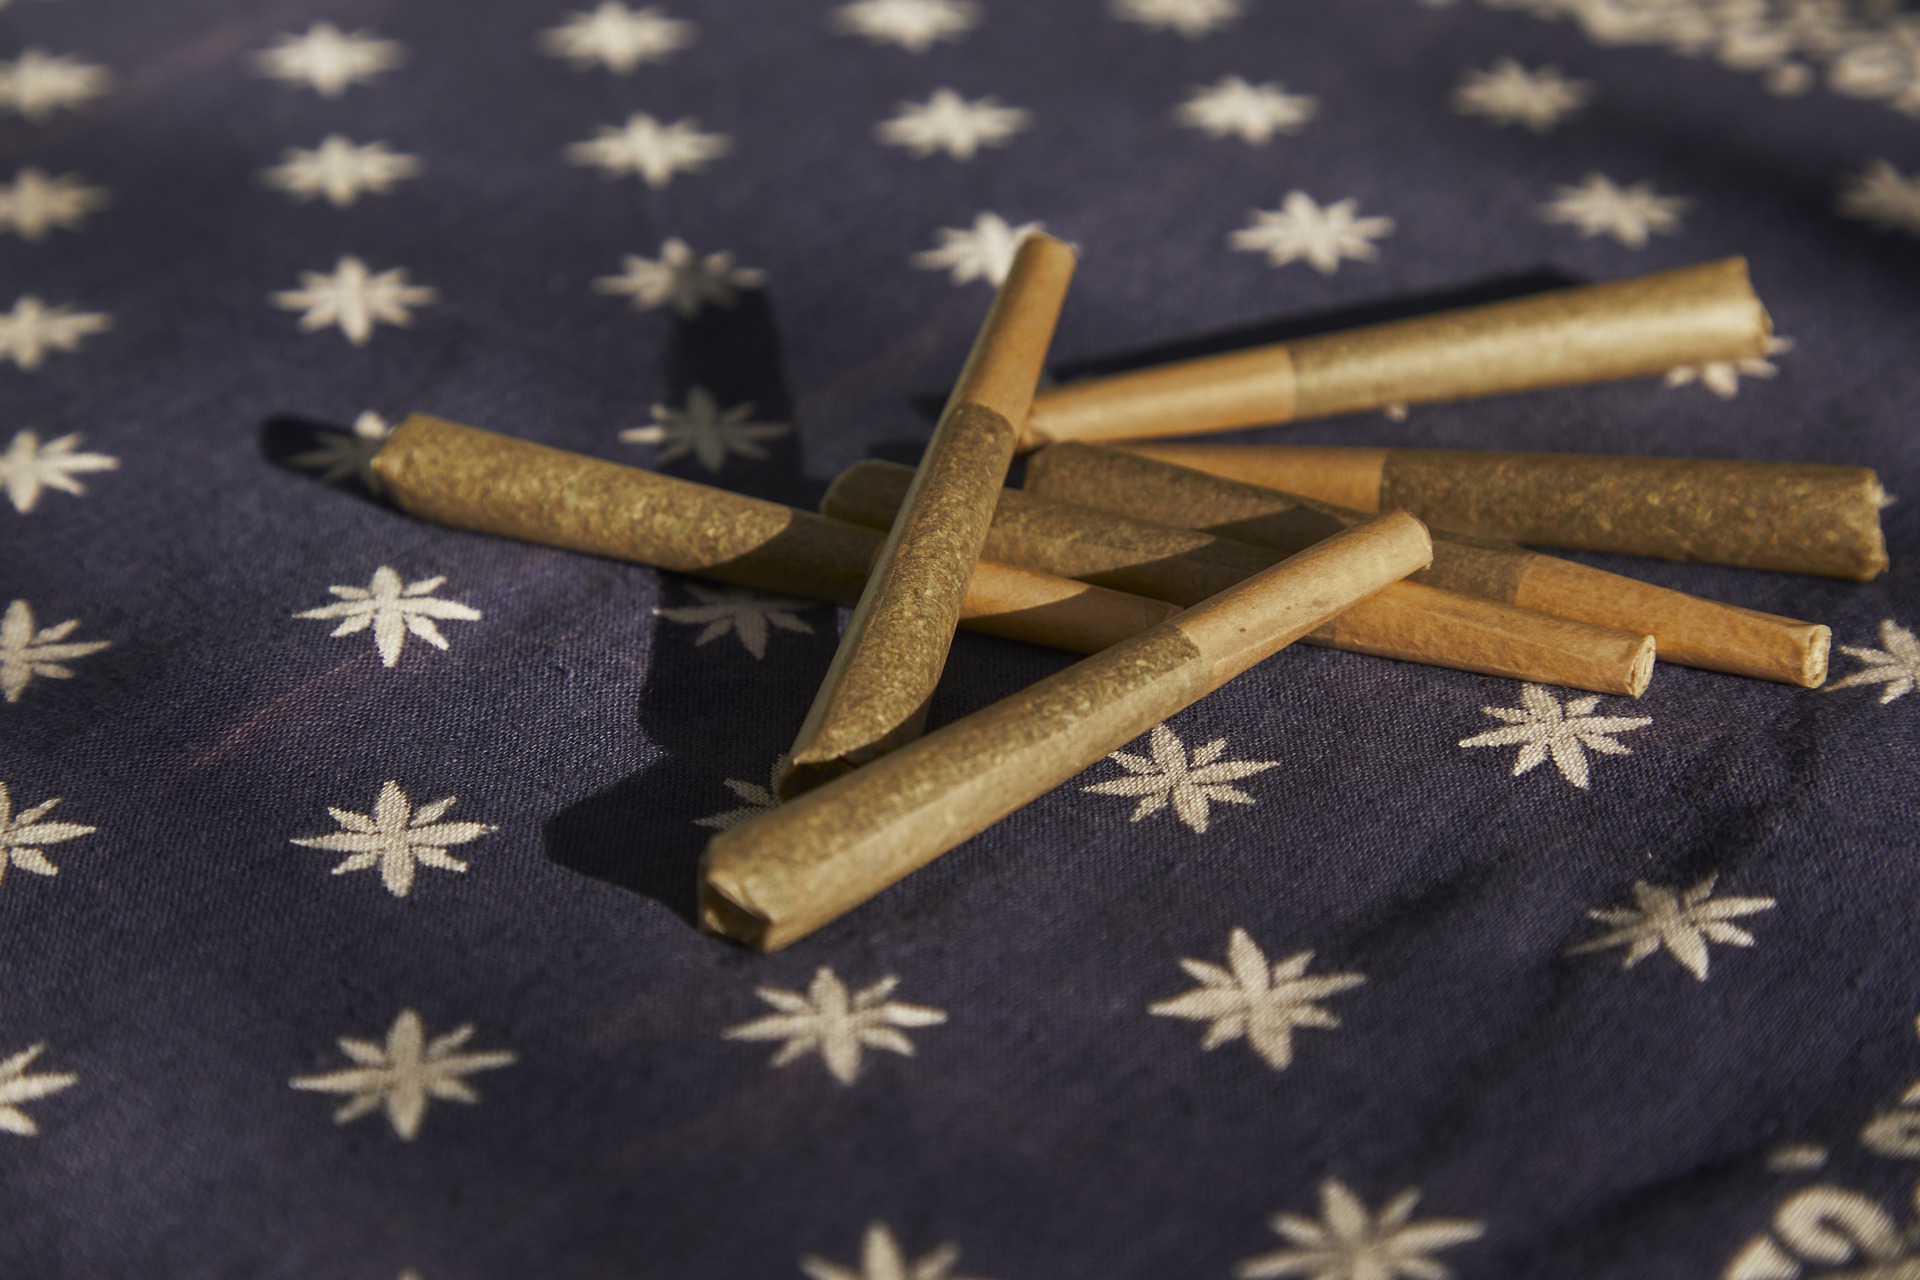
Step 1: Gather your rolling supplies.
This will include dried cannabis flower of your choice, rolling papers, a crutch (aka filter or tip), a cannabis grinder, and a pen or similarly thin object (to help pack the joint).
Step 2: Grind your cannabis buds.
This will make the filling more consistent, thus ensuring an evenly burning joint.
Step 3: Place your crutch, filter, or tip at one end of the rolling paper.
You can make your own or buy some from a dispensary. A crutch is not necessary, but it is recommended. It will keep shake from falling into your mouth and prevent your fingers from burning as you puff down to the roach.
Step 4: Fill the rolling paper with your ground flower.
Depending on your paper, anywhere from half a gram to a full gram should work. There are many types of rolling papers so be sure to shop around and ask your budtender for recommendations.
Step 5: Roll the joint.
Pinch the paper between your fingertips and roll it back and forth to set up the joint in a cone shape.
Step 6: Seal the joint.
Start with the crutch side and lick the top edge and seal with a final roll.
Step 7: Pack the joint.
Use a pen or any similar object to pack the open end of the joint. This will help ensure an even burn. If you are not planning on lighting up the joint right away, give the tip a twist to close it up.
Step 8: Enjoy!
Your joint should be ready to go, so enjoy it!
If all this seems like a bit too much work, your local dispensary or weed delivery service will usually carry some prerolls (aka pre-rolled joints) for your convenience!
